We have printed many 3D models during the development of our 3D printer Titan1. Preparing a 3D image file before printing is not as straightforward as preparing a 2D image file. Here we are going to share our experiences for preparing a 3D printable model. If you design your own 3D models, you may skip step 1.
1. Locate 3D models online
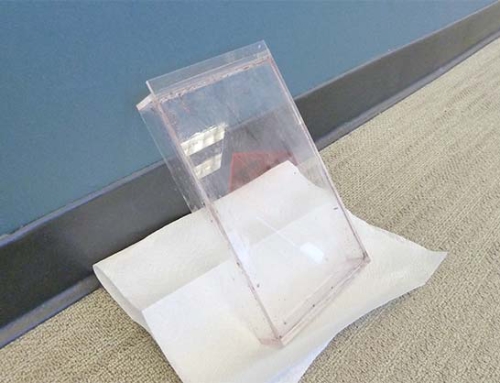
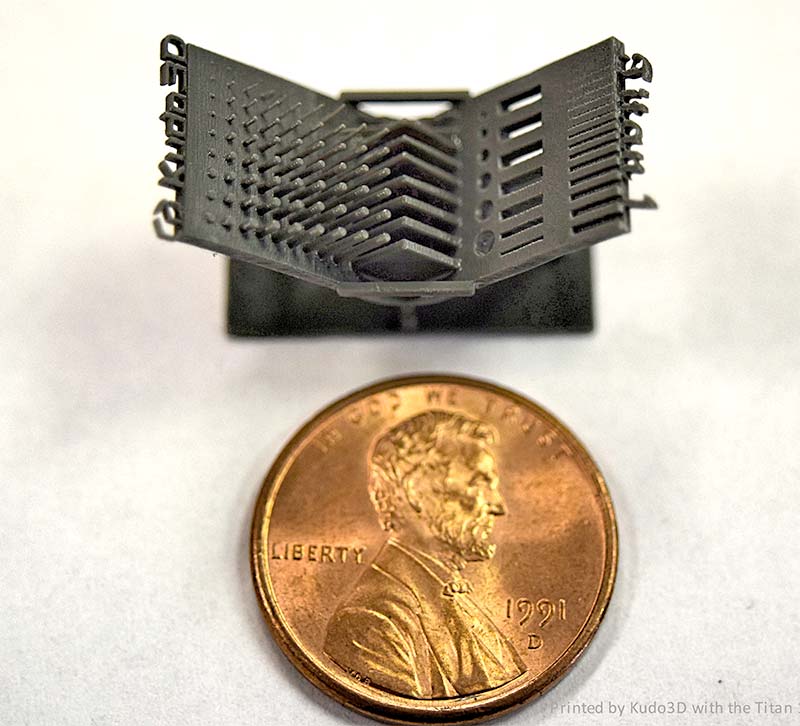
There are many websites providing a variety of 3D files you can download for free. If the file extension is not ‘stl’, you would need a 3D software to convert the model to stl format. “Thingiverse” is our most favorite site, because most of the files contributed are in stl format for free. We look for 3D models with higher resolutions to avoid limitations posed by the image itself. We use 3D Eiffel Tower as our main testing model for tuning printing parameters of our machine and our PSP (Passive Self-Peeling) mechanism. We have printed more than 80 of them with different sizes. The tallest one is about 9.4 inches, whereas the smallest one is 3.5 inches tall with pillars as tiny as a strand of hair.

2. Check and fix files
All downloaded 3D files need to be checked before slicing and printing. A lot of them may even require repairs. Check your STL files to ensure:
- all objects maintain “outside” orientation.
- the surface of all objects is closed and there are no overlapped faces.
We use “Netfabb basic” to repair models. If the number of shells is too high or “Netfabb basic” fails to fix the model, you would need to upload the stl file to “Netfabb cloud” for further repair.
Sometimes, multiple shells could get you a problematic hollowed model in the following step.
3. Hollow 3D models if necessary
Most of the models require hollowing to save printing materials. In addition, hollowing minimizes light exposure area and greatly reduces layer separation force. The printing time is thus shortened and the printing quality is enhanced.
We use “Meshlab” to hollow our 3D models by building a smaller offset model with inverted surface.
(To Be Continued….)

So I just have a question. The Titan comes with no software to program the machine…The machine itself uses patented tech self peeling which ultimately states that you are using dlp and sla tech together…Then why is there no custom software to run and program (slice) models?
Just curious if there is something I am missing, there is a good job being done wiping this information from the public?
I have no way to load a model to run it? the Kudo3d titan software runs the machine but cant input a model?
Or I have been know to be very blind and I am just not seeing (getting it_)
Thank you.
The software is a tool chain including support generation, slicing and controlling. You would need to slice the model and then input the slices to the controlling software. The controlling software does not take the stl file.
If you need more technical information, please send an email to contact@kudo3d.com. You can also download software manual under http://www.kudo3d.com/downloads/ Thank you.