4. Layout
We usually arrange layouts in “Blender“, you can use other free softwares for the same purpose.
- Import all models intended to be printed at the same time to “Blender”.
- Resize, reorient and reposition the models within build boundary.
- Level the models to the floor of the boundary.
- Might need to open some holes on hollowed models at this stage to avoid potential vacuum effect during printing.
- Export to a new stl file.
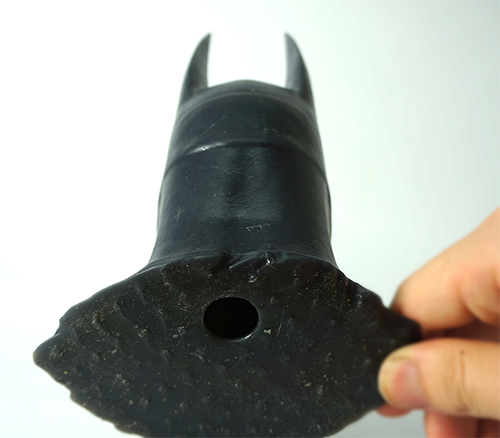
Printed batman – example for opening a hole
5. Adding supports
This is the most important step before printing. Adding supports is subjective and discretionary. Some models may not need supports at all if it has a flat bottom large enough to hold the model on the build plate. Others may require different types of support to meet your needs. The followings are rules of thumb that we followed for adding supports:
- Locate all surface areas with local minimas (upside down hill or tips).
- Determine the number and location of supports that must be added on other downside facing areas to maintain mechanical stability of partially printed model during printing.
- Determine which supports should be built from the floor or from the model itself.
- Hide as many as possible supports to areas not visibly important.
- Add supports strong enough and do not bend during printing.
- Make sure the tip of the support is strong enough to avoid model detaching from the supports during printing.
- Make sure the tip of the support is not too large to leave scars after removing the supports.

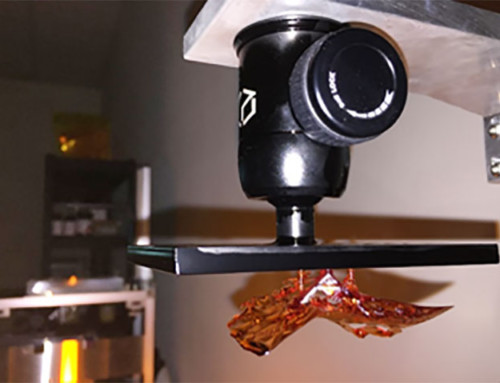
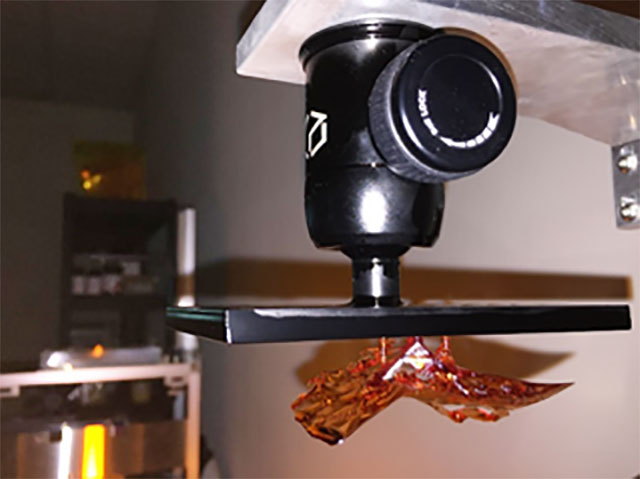
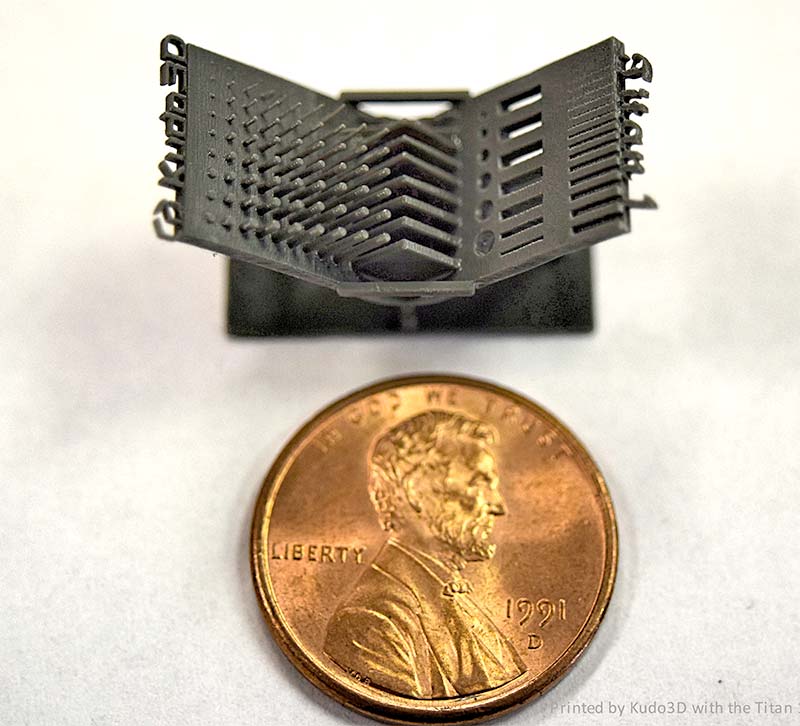
Adding supports – 3D printed Thousand arm Budda (on the printing process)

(Printed dragon with supports.)
There is no one single software that is intelligent enough to add supports for you without any human judgement. You can use a free software to generate a bed of nails uniformly under your model and then use “Blender” or other similar softwares to tune up your supports by adjusting the position and size of the nails. You still need to manually add supports that are not perpendicular to the floor or supports that stand on the model itself.
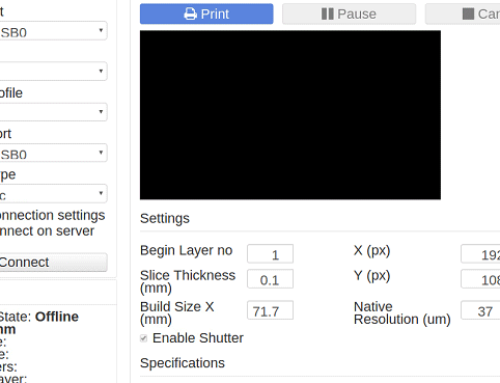
6. Slice 3D models
The principle of 3D printing is based on an additive process building physical models by attaching thin layers. In order to generate those thin layers, the computer generated 3D models need to be sliced into 2D images for each layer before printing. After adding the supports, you would need to check again the integrity of the STL file with supports to be printed. “Slic3r” is the open-source, cross-platform tool we are using. Build area and the thickness of layers are related to the printing resolution. You can set them via any slicing program. After slicing, 2D image files will be projected to the bottom of the resin container during printing.
Preparing printable 3D files is not straightforward due to software limitations. Each step is important to achieve a high quality 3D print. We have been through many trial and errors and will share our experiences on our blog. If you have any questions, welcome to contact us.

Leave A Comment