Post-Process Your SLA Prints in 4 Easy Steps
In the past, post-processing a print was a long labor-intensive process full of sanding and grinding in order to achieve a professional finish. With the Titan 1 DLP SLA printer, the 3D prints are produced with a smooth professional finish, greatly reducing the energy and time required for post-processing.
Thanks to Kudo3D’s patent-pending separation technology, less supports are required for printing, which means less cleanup and scarring. Rings can be printed with the Titan 1 without internal supports and only require one support at the base of the ring.
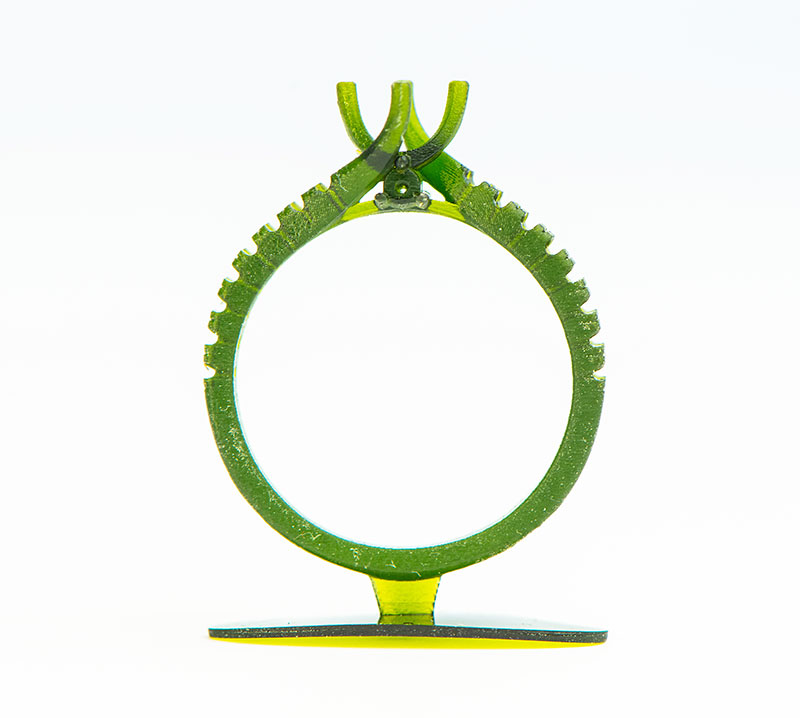 Ring by Smita Lai. Only one support on the bottom.
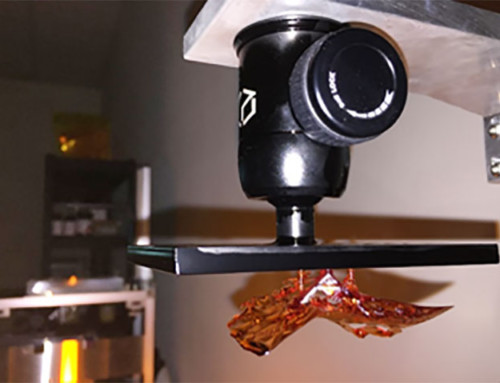
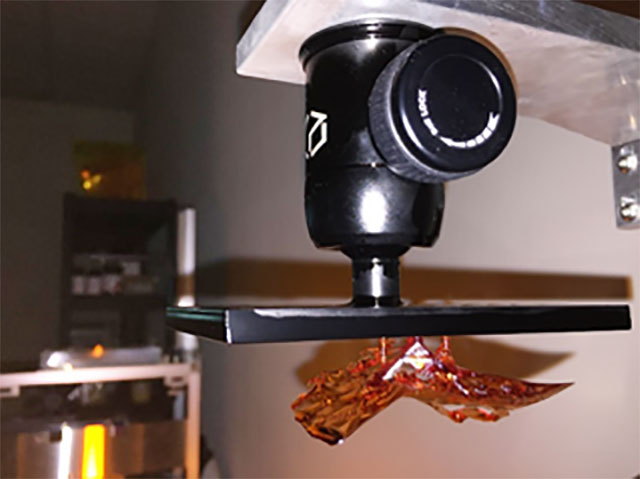
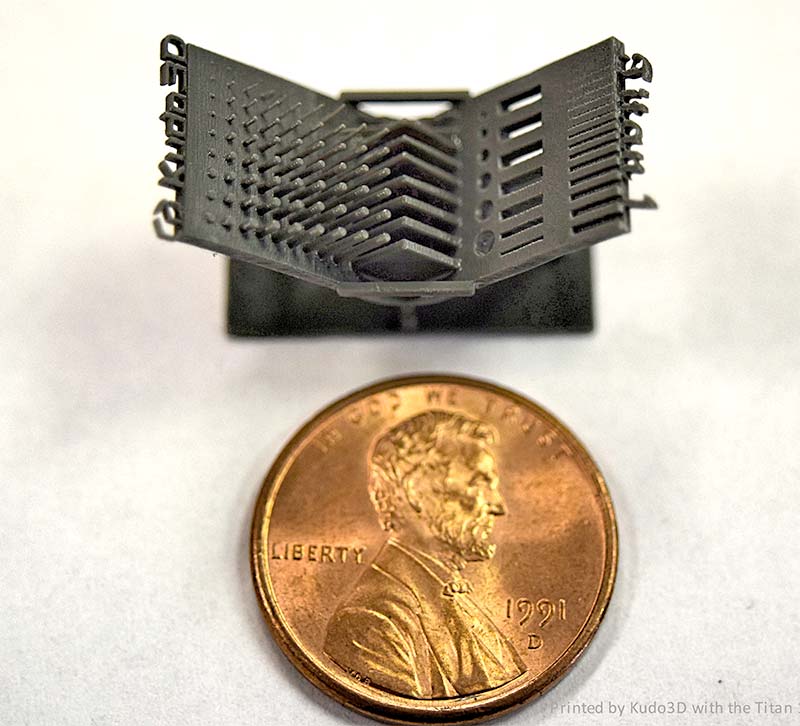
The image below is a great example of how the Titan 1 reduces or even eliminates post processing. No sanding was necessary, preserving the fine details of the miniature. In addition, with layer heights of 35um, the horizontal lines that usually define each layer are invisible.
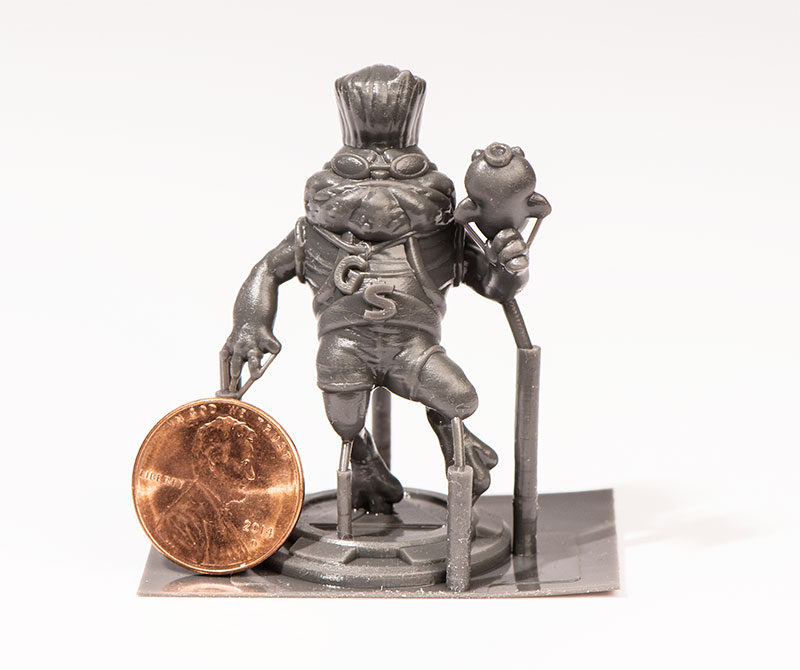 “Froggy” by Spectoys printed with Titan 1. No sanding necessary. Prints can also be casted or painted afterwards.
We have simplified the post-process down to 4 easy steps with very little equipment needed.
To post-cure you only need a few over-the-counter items including:
- 91% Isopropyl Alcohol (IPA) or Rubbing Alcohol (99% IPA is better, and it is available on Ebay)
- Containers large enough to submerge your print in
- Disposable gloves
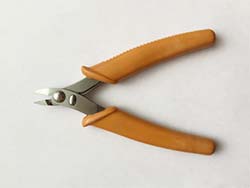
- A pair of pliers
- UV light
1. Remove the print from the platform using a blade or other sharp tool. Please be careful not to slip and cut yourself.
2. Next, submerge your print in a container of Isopropyl Alcohol (IPA) for 3 minutes. Then, swirl it around in the IPA to rinse off extra resin. Alternatively, you can use a squeeze bottle to rinse off extra resin. This step removes the uncured layer from the print, helping to reduce any residual stickiness.
RichRap’s Voronoi Tower http://www.thingiverse.com/thing:24123
 3. At this point, your print should have very little to no stickiness left on its surface. Next, gently remove the printing supports with a model cutter. It is easier to detach the supports closer to the tips, since the supports are pointed.
Depending on how precise you need your print to be, you could leave a tiny stud of the support tip attached to the surface to avoid making a dent. The protruding tip could then be sanded down. Pulling the support out or cutting very close to the attachment point creates risk of leaving a small dimple behind.
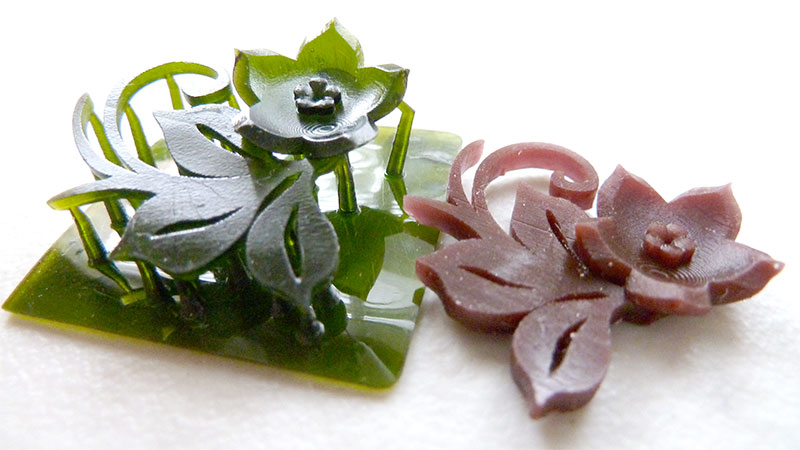
Jennifer Chen’s Flower Design
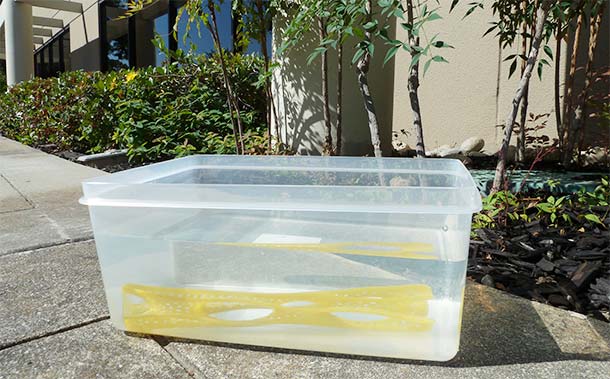
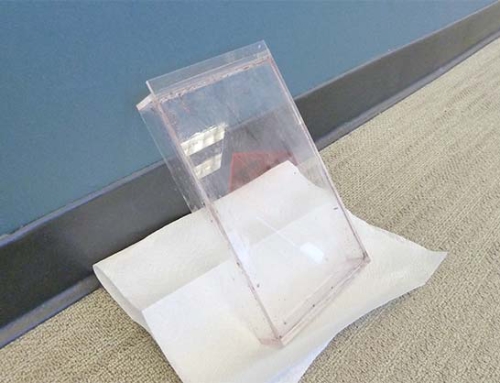
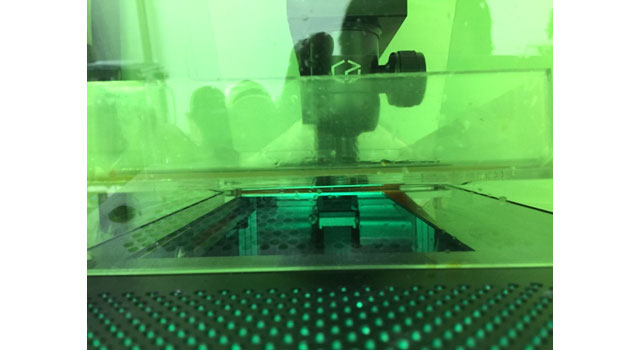
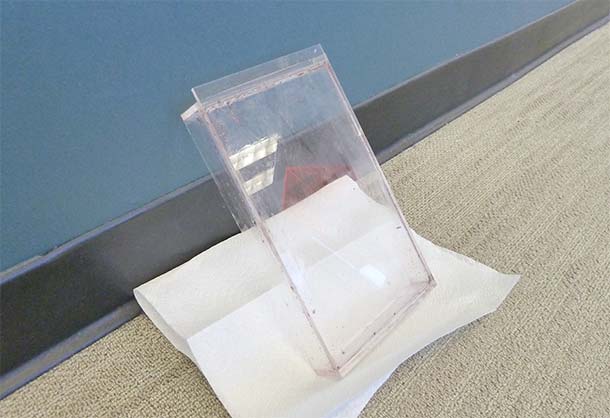
4. Use either Kudo3D’s UV-post curing lamp or direct sunlight to complete the final curing process. The amount of time needed to post-cure a print depends on its size and the post-curing method used. Using a clear container with tap water to submerge the print is optional but shortens the curing time needed.
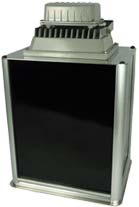
Post-curing with Kudo3D’s UV lamp
Submerge the print in a clear container filled with tap water. Place the container under the UV lamp for about 5 minutes. If the print still feels uncured or sticky, leave the print under the UV lamp for a few more minutes.
Post-curing with Sunlight
Submerge the print in a clear container filled with tap water. Then place the container under direct sunlight for about 15 minutes. If the print still feels uncured or sticky, leave the print and the container in the sun for a few more minutes.

The purpose of post curing is to dry up and harden the outer surface of the print. Oxygen in the air diffuses into the outer layers of resin while printing, preventing the print from fully curing. Submerging the print in water forms a water barrier to prevent oxygen inhibition since the water prevents oxygen in the air from reaching the part during curing. This allows the UV light from the sun or a lamp to cure prints faster. Post-curing without placing in water will take much longer. This process mainly cures the surface of the print. Interior structures will continue to cure slowly over time due to ambient UV light exposure.
With the Titan 1, you can spend more time designing and printing and less time post processing!

i tried this steps but the problem i faced is that the models becomes lighter ( some white in some places ) after placing the models inside the IPA
For some resins, do not soak the models in IPA for more than a minute, especially castable resin. You may need to blow away the residual IPA and soak it again in fresh IPA.
Excellent blog post. I absolutely love this website. Stick with it!|
Thank you!