
What exactly is background curing and what is the impact of it on your print? Background exposure, as the name suggests, is the light that appears in the background. Ideally, the background should be fully black with no light at all. However, for DLP, there always is residual light scattering back into the lens and deteriorating the contrast ratio. When the residual light is too high, it could cure the resin in the background and damage the print.
Impact of Background Curing
How does background curing affect the print or the printing process? During the printing process, the resin under background exposure keeps accumulating photons. Once the number of photons received per unit area reaches the threshold dosage, the resin will start turning into solid.
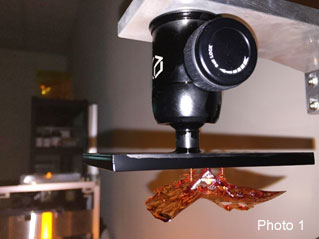
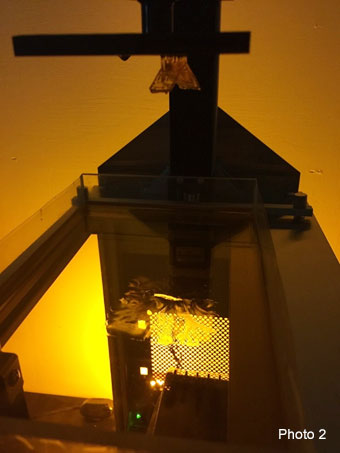
Have you ever seen bits of resin flakes attached to your print? This is a physical example of background exposure affecting your print. The reason for this is because the resin close to the printing zone is being cured slowly by both the background exposure and the scattering light from the pattern. Once the resin in the region near the patterns accumulates enough photons, thin layers attaching to the model may form and get separated from the Teflon film (as shown in the Photo 1). Sometimes, part of the layer could drop or remain at the vat floor (as shown in the Photo 2). A model that requires a longer time to print is more likely to form these flakes. The worst case scenario is when a fast resin is cured by the background light, it could stick to the vat floor firmly and pull your model out of the platform or even break your model into two pieces.
Even if you do not see the flakes on the print or within the pool of resin, the background exposure still affects the resin you are printing with. The background exposure partially cures the resin near the vat floor in the build zone. This will have an impact on the printing parameters of subsequent layers. Because the resin has already absorbed some photons, curing it with the normal exposure time will actually mean that the cured resin is being over-cured. As the liquid resin accumulates photon gradually, the resin will slowly become more viscous than before and the printing parameters may change.
It should also be noted that the exposure time scaling is not linear. The resin curing is an ongoing reaction even after the light is off. The faster the curing speed the more ongoing reaction. Therefore, fast resin or stronger light tend to have more ongoing reaction. In general, we have seen resins with exposure time less than 1 second are more likely to form solid background cured flakes.
The Solution to Background Exposure
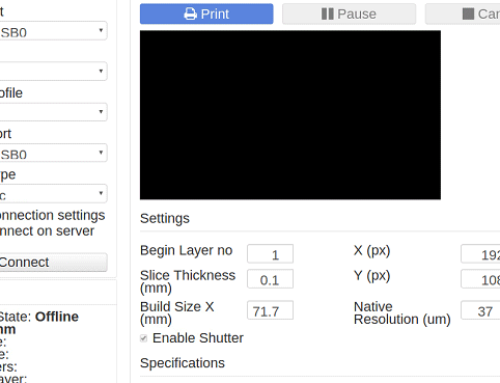
There is no way to achieve infinite contrast ratio for DLP, but there are ways to reduce the background exposure during the printing process. This is where the shutter from the Titan 2 and Titan 1 Upgrade Kit plays its role. The shutter will remove the background exposure when the platform is moving for separation. (This is the time where there should be- ideally- no light being shined upon the resin.) With the shutter, the accumulated number of photons absorbed will be greatly reduced. The adhesion between the cured layer and the Teflon is then more predictable and the lifetime of recycled resin will be extended.
Another way to reduce the impact of background exposure is to lift the platform higher so more ‘fresh” resin will be sucked into the printing zone and dilute the resin that has been exposed under background light in the print area.
For the same resin, increasing the build size to increase the exposure time will reduce the background curing effect. As a result, you may see the background cured flakes appear at 37 or 50um XY resolution but not at 75um for the same resin. Using a shutter will alleviate this problem. Sometimes, the background curing is caused by the video card. For Titan 1, if you use Nvidia display adapter, it is likely that you will experience background curing. Using an Intel built-in video adapter will solve this problem. For Titan 2, video adapter of Raspberry Pi does not have this issue.


Leave A Comment